Easy, chocolate and free! What could be better? Hope you enjoy these fantastic low stress dessert recipes!
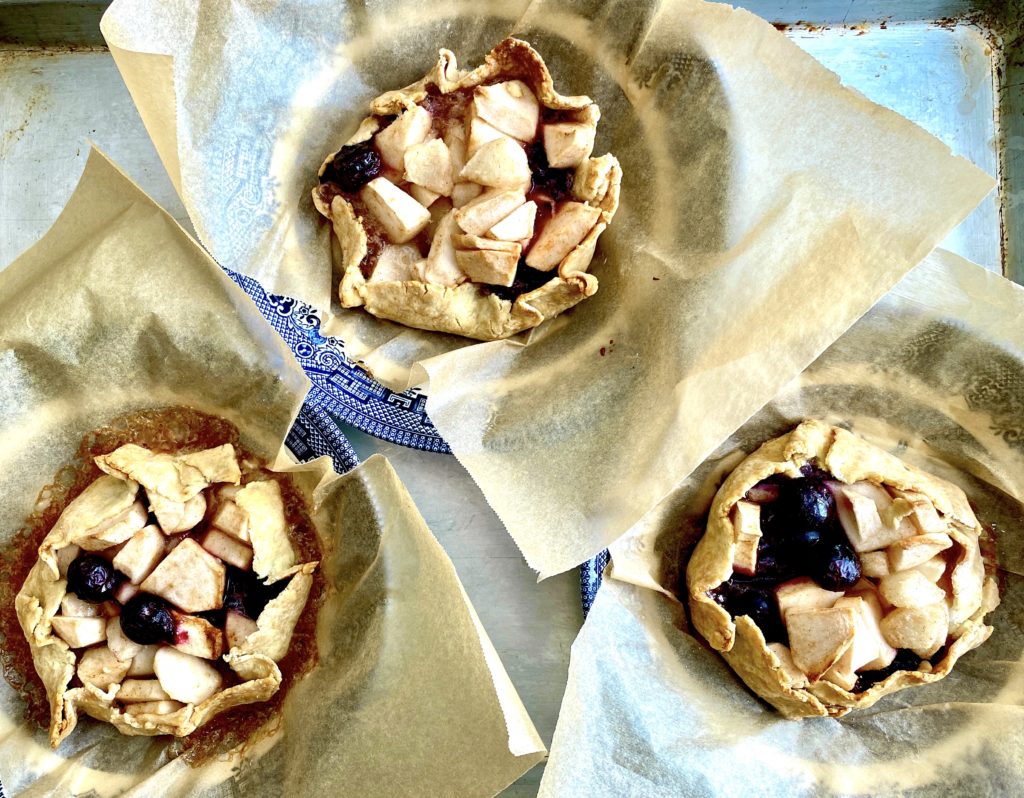
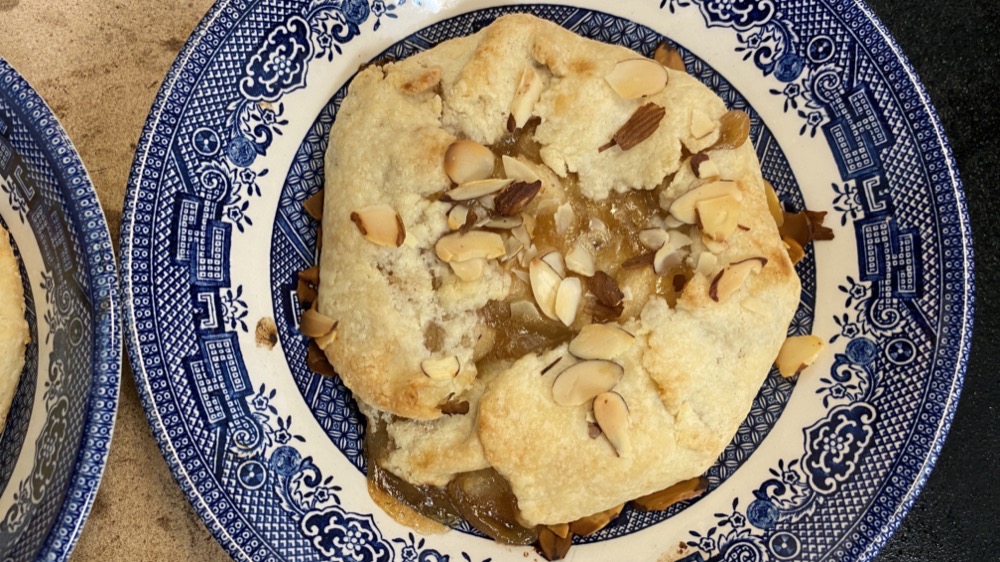
Gluten Free Fruit Tarts
I’ve been experimenting with gluten free recipes, because someone dear to me is on a gluten (and egg) free diet. I love the properties of gluten that give us beautiful airy breads and flaky pastries, but some people must go without it. I am almost hesitant to share my new recipe as I have only made it once and I’m sure that I will make changes in the future. That being said – the tarts came out pretty good!
Recipe
Pastry Dough
- 4 oz. (~3/4 cup) gluten free all purpose flour blend (I used Hannaford’s Nature’s Promise)
- 1.3 oz. butter (1.5 tablespoons)
- 0.7 oz. cream cheese (1.5 tablespoons)
- 1/2 teaspoon sugar
- 1/4 teaspoon baking soda (could probably eliminate)
- 3 tablespoons milk (could use water)
Fruit Filling
Mix together the following right before filling the tarts:
- 3 cups of fruit pieces ( I used diced apples, diced pears and blueberries)
- 1/3 cup sugar
- 2 tablespoons cornstarch
- 1/4 teaspoon cinnamon


Above is a little video I made a while ago showing how I roll and shape this style of little tarts (crostatas). The dough in the video is my regular pie dough, not gluten free.
Method
- To make the pastry the dough: Blend all ingredients except for milk (or water) in a food processor or with a pastry blender, until crumbly.
- Gradually add liquid using a fork to toss ingredients together until moistened. May not need all of the liquid.
- Shape into 3 balls of dough. Cover and refrigerate for 15 minutes or longer.
- Roll out each piece of dough to about 7 inches using a little cornstarch to prevent sticking. I actually used my tortilla press for the tarts shown above and pressed the dough between sheets of plastic cut from a ziplock bag.
- Place 1/3 of the filling on the rolled out dough and fold the dough over the filling. (See video above.) Repeat with the other two pieces of dough. Sprinkle with sugar if desired and bake at 400ºF on parchment paper lined bowls or sheet pan for about 25-30 minutes. Check oven often. Filling should be bubbly when done and the crust a golden brown.
- Happy baking!
Exploring Capital Region Bakeries, No. 2
This week, for our series Exploring Capital Region Bakeries, I visited Prinzo’s Bakery at 344 Delaware Ave, Albany, NY. Being from Utica, Prinzo’s reminded me of the wonderful Italian family bakeries in East Utica that were once great in number. This is a bakery to go to for crusty old fashioned Italian bread and rolls. The prices were so LOW. I purchased 2 loaves of bread, 6 hard rolls, several large dinner rolls and pizza dough for around $10. (I should have been more accurate, but I was thinking about lunch!) If you’re in the vicinity, I highly recommend!

Exploring Capital Region Bakeries
The Placid Baker – Troy, NY
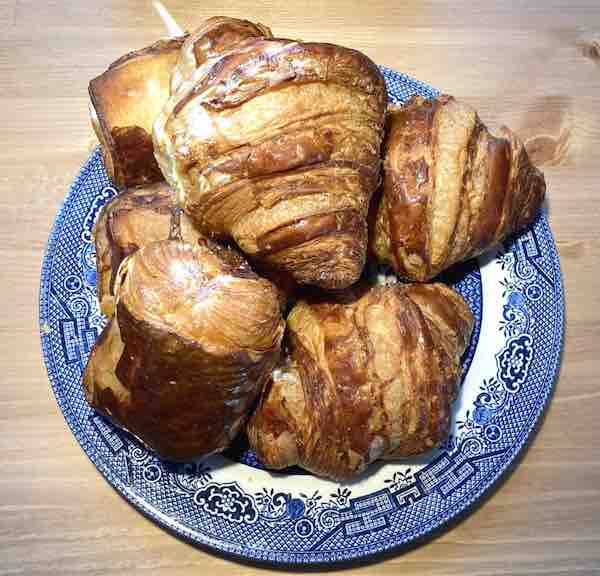
Welcome to our new series exploring bakeries in the Capital Region (Albany area) of New York State. Our first visit was to The Placid Baker in Troy NY. We got there right before closing, so the cases weren’t full (which is as it should be), but there were still some beautiful sights to behold! The dark chocolate sandwich cookies were wonderfully chocolatey and moist. Croissants – crispy on the outside with lots of buttery layers on the inside. The baguette was fantastic, but unfortunately I forgot to take a picture (but I did remember to eat it).
Definitely worth a visit! Stay tuned for our next stop!


Pear Almond Tart in a Soup Bowl
Sometimes it’s fun to use oven-proof soup bowls to make little fruit pies or tarts in. They can be reheated right in the same bowl, they look pretty and there’s no dirtying anything extra. We had a restaurant customer that said (many years later) how she always remembered being served a plum tart that had been made in a one of our soup bowls. It like a custom packaged treat!
BE SURE TO USE OVEN PROOF BOWLS!
For my regular pie recipe and video click here. I made this dough the same way, but used a little higher butter-to-flour ratio and also used all purpose flour as I know many people don’t have access to pastry flour as in my original video.
Recipe
Dough
- 6 oz. all purpose flour (1 + 1/4 cups)
- 1/4 teaspoon salt
- 1 tablespoon sugar
- 4 oz. cold butter (8 tablespoons or 1/2 stick), cut into small pieces
- Measure flour, sugar and salt into a large bowl.
- Rub or cut butter with a pastry blender into the flour until pieces are quite small (like little flakes or pebbles). This can be done in a food processor with a cutting blade. Try not to let the butter melt. If using a food processor, transfer the mixture to a bowl and add water as in Step-3.
- Add water gradually, while tossing the mixture with fork. If the mixture appears dry, add a little extra water, one teaspoon at a time. If it seems too wet (this is most likely to happen on humid days) don’t add all of the water. If necessary, you can add a little more flour, but try to avoid this. On a hot day, use ice water.
- Gently shape the mixture into 4 small balls of dough, dust with flour and flatten slightly. Wrap well and refrigerate until needed. May be stored in the refrigerator for 1-2 days or in the freezer for a longer period of time.
Filling
For the filling, just toss the following ingredients together. Do right before making the tarts.
- 3-4 cups diced pears
- zest from half of lemon
- 1/2 cup brown sugar or to taste
- 3-4 tablespoons flour (depends on the moisture content of your pears)
- 1/4 teaspoon cinnamon
- Roll out each ball of dough fairly thin and large enough to fit your bowl. (BTW – Can also be made without bowls and just placed on parchment paper lined baking sheets.) I like to use a pastry cloth to roll the dough on (or as in the case of my little video, a large dishtowel). Also, a sheet of plastic on top of the dough is very helpful too.
- Fill with a quarter of the fruit mixture and fold edges of the dough over the filling as shown in video.
- Top with almond slices (or not – it’s up to you!)
- Bake at 400F for about 25 minutes. BE SURE TO USE OVEN PROOF BOWLS!
Aldi Springform Pan and Peach Blueberry Cake
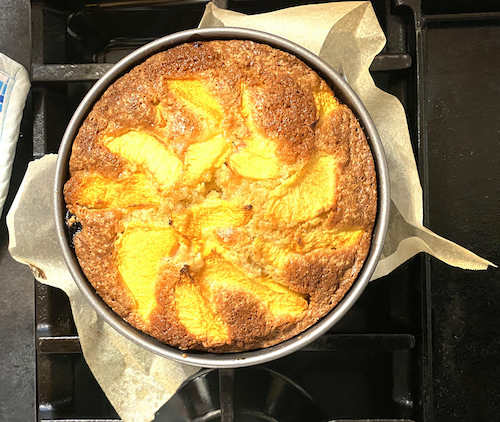
I shop at Aldi frequently and love looking at their special buys. This week I came across this cute little “Made in Germany” Springform pan. I couldn’t help from buying it! I like the German style springform in that the bottom locks in tightly and creates a little tray. Also, the parchment paper can easily extend beyond the borders of the pan, meaning I don’t have to cut little circles out of parchment paper!
Here is a little recipe and my review:
Blueberry Peach Cake
You can use many types of pans to bake this super moist light cake. To prepare an 8 x 8 glass square pan, just spray with non-stick spray. To prepare the springform pan, line with parchment paper and spray with non-stick spray.
Ingredients
- 1 cup sugar
- 1 1/4 cups all purpose flour
- 1/2 teaspoon baking powder
- 1/2 teaspoon baking soda
- 1/4 teaspoon cinnamon
- 2 large eggs
- 1/4 cup oil
- 1/2 cup yogurt
- 1 teaspoon vanilla extract
- 1/2 teaspoon almond extract
- 1/2 teaspoon lemon zest
- i large peach, peeled and sliced
- 1 cup fresh blueberries
Method
- Combine first 5 ingredients in a bowl. Whisk together. If lumpy, sift.
- In a separate bowl or large measuring glass, combine eggs, oil, yogurt, extracts and zest. Mix well.
- Add liquid ingredients to flour mixture amnd mix until just incorporated. Gently stir in blueberries.
- Place half of the peach slices in the bottom of the prepared pan. Pour over batter and then arrange the remaining peach slices on the top.
- Bake in a preheated 350F oven until a toothepick inserted in the center comes out clean. The square pan should take about 45 minutes. The 7 inch springform pan takes about 65 minutes.
- If using the springform pan, let the cake cool in the pan for about 10 minutes. Then carefully run a knife (don’t want to scratch the pan)around the edge of the cake and open the springform. Cool on a rack and dust with powdered sugar to serve, if desired. A little whipped cream or ice cream would be nice too!


Review: I like the pan’s baking quality. The cake came out of the oven with a beautifully proportioned top crust. It released from the pan easily and the crumb was gentle, even and moist. The only downside is that it’s a “non-stick” pan, but for $4.99, I can’t complain. Just be careful and try not to scratch the surface. Happy Baking! -Susan
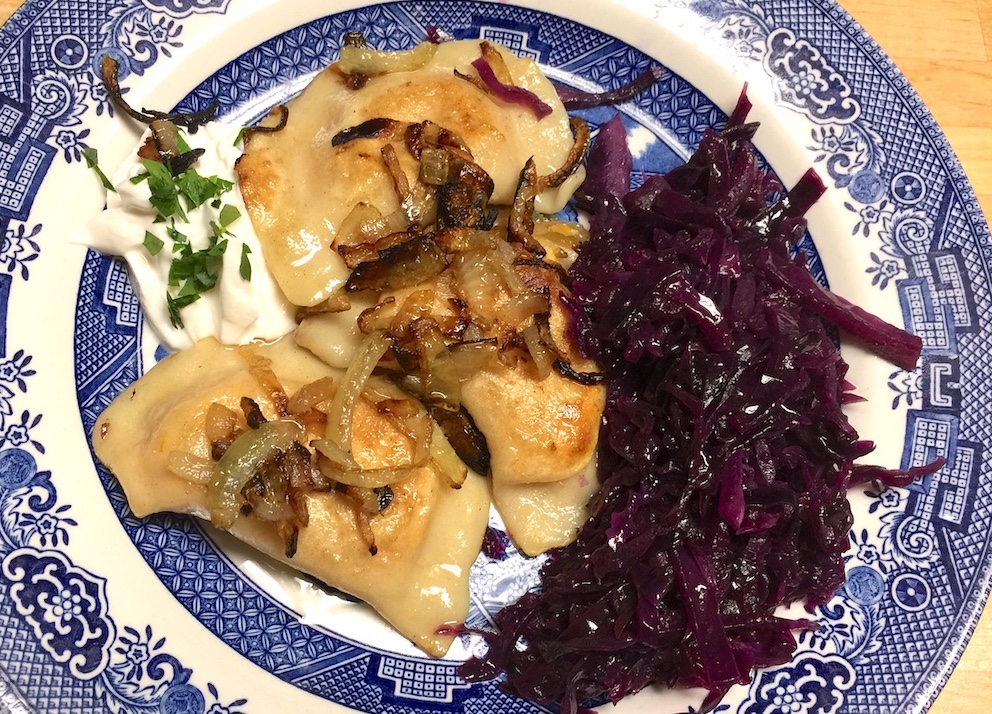
Sweet Potato Pierogi
To make sweet potato filled pierogi, I just used my regular recipe (sort of) for Potato and Cheese Filling and substituted sweet potatoes for the baking potatoes (Russets). First, boil the sweet potatoes in their skins and then rice (or mash) and add to the rest of the ingredients. You may want to use a mixture of both potato types, because the sweet potatoes have a lot more moisture in them, making it more difficult to pinch and seal. Feel free to experiment with quantities. I made a small batch with just a couple of small sweet potatoes. added a bit of cheese and onions without measuring. They were sweetly delicious!
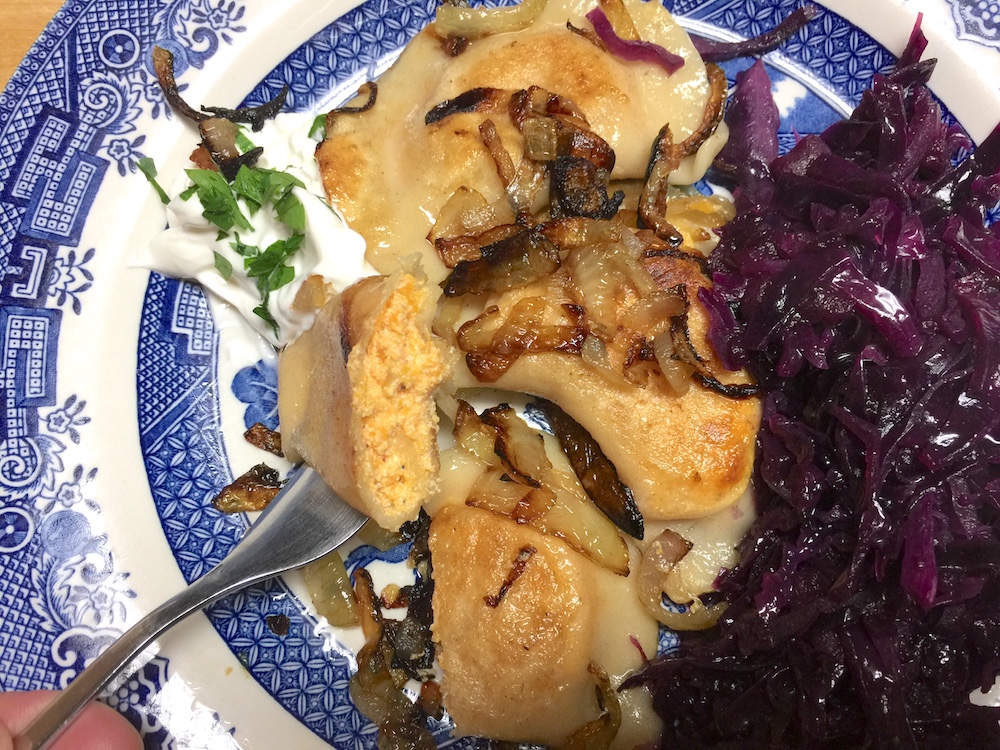
Sweet potato pierogi served with sour cream and Pennsylvania Dutch style red cabbage 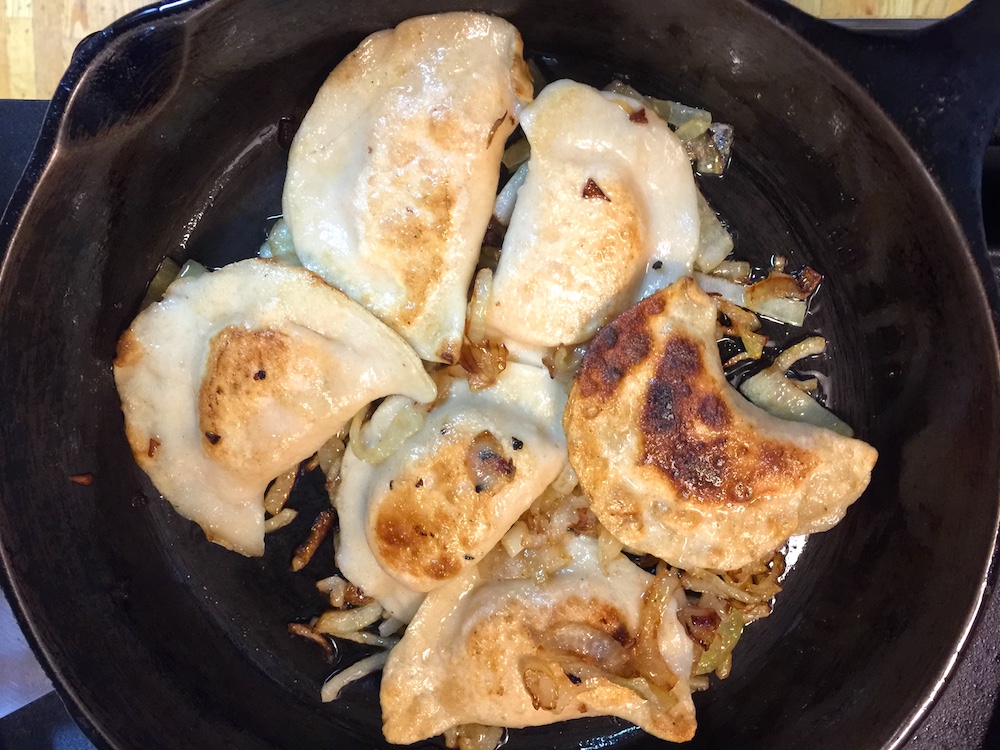
Frying the sweet potato pierogi in butter with onions
Fall Veggie Salad
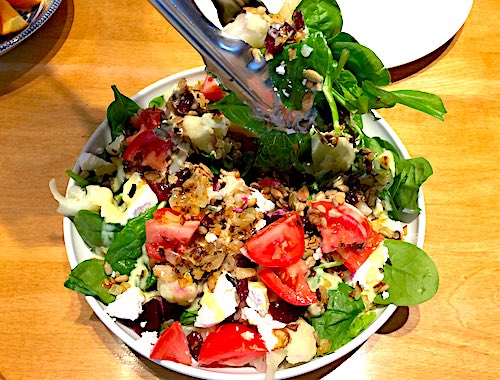
Sometimes the best salads come about by utilizing what you have on hand. During the fall season, we have some wonderful opportunities. This salad was made with tender cauliflower florets, sauteed onions, spinach, tomatoes, goat cheese, dried cranberries, beets (fresh boiled in skins and cooled, peeled and sliced) and sunflower and pumpkin seeds. This was topped with honey mustard dressing that I had on hand, but any dressing would do. Especially any homemade dressing!
Enjoy the season!
Susan
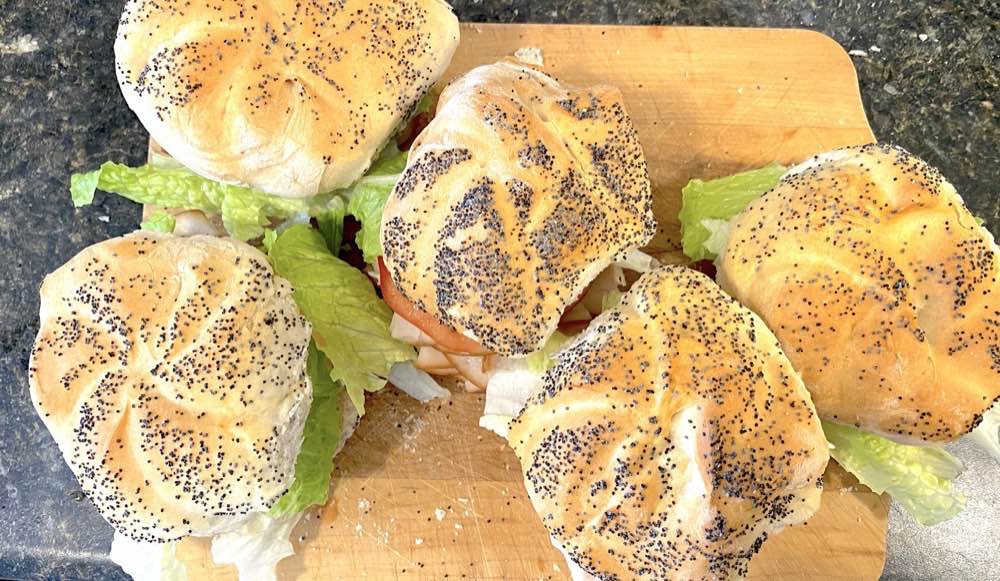
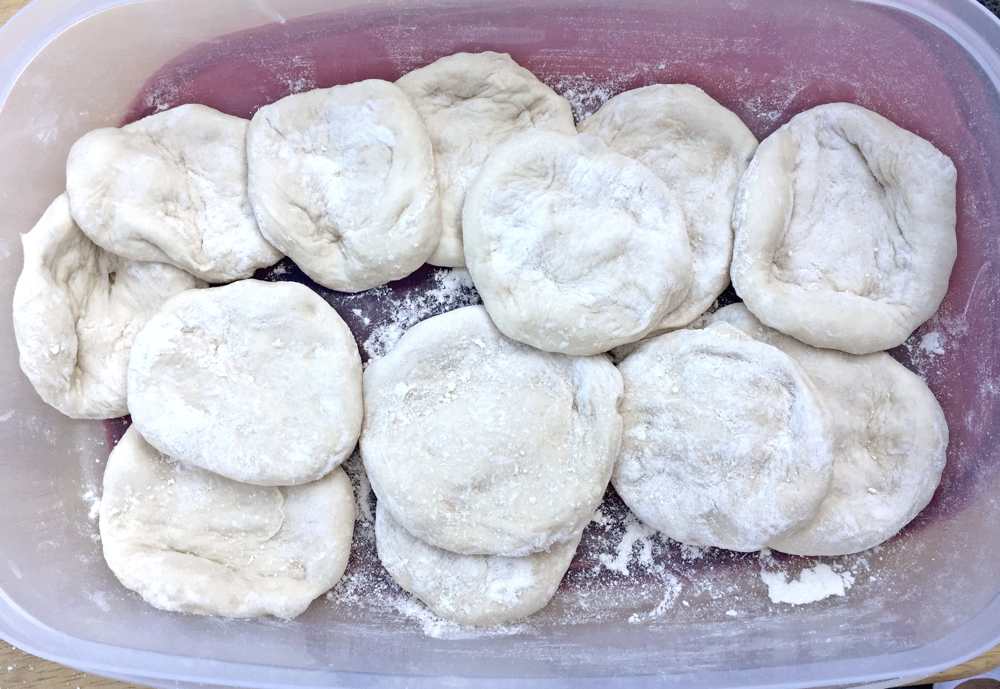
Grilled Bagel Flatbreads?

It was a beautiful summer day to grill some flatbreads and I decided to experiment with a few bagel-flatbreads (without the holes). I used a variation of my bagel recipe, but without using the sponge method. See dough method at end of article.
Below is my original Grilled Flatbread video for reference.
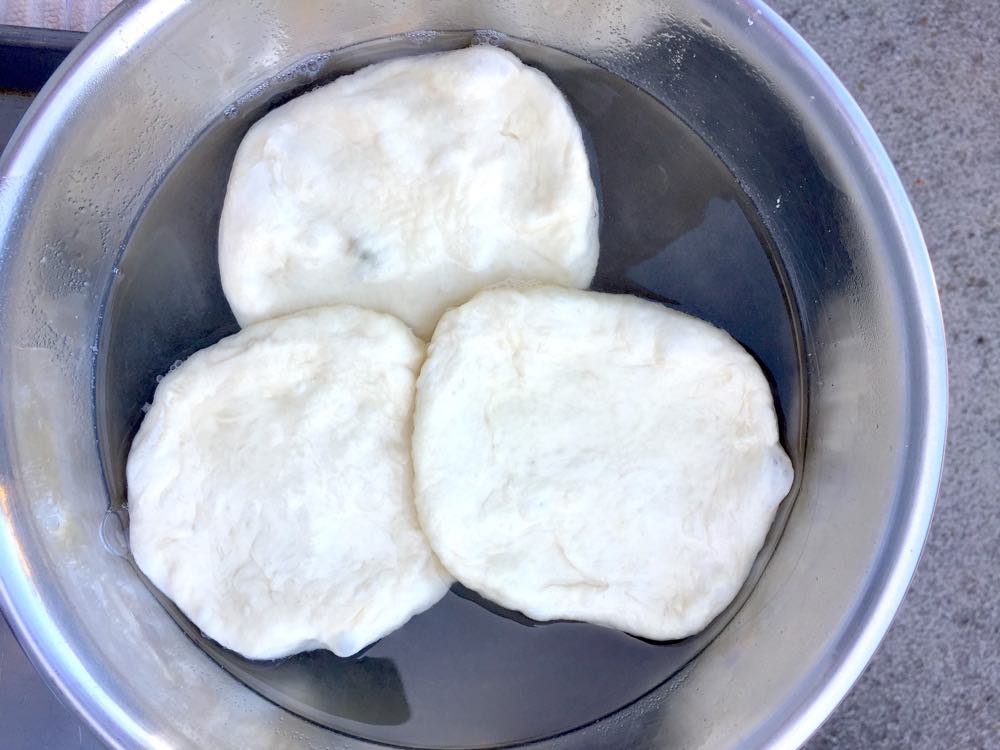
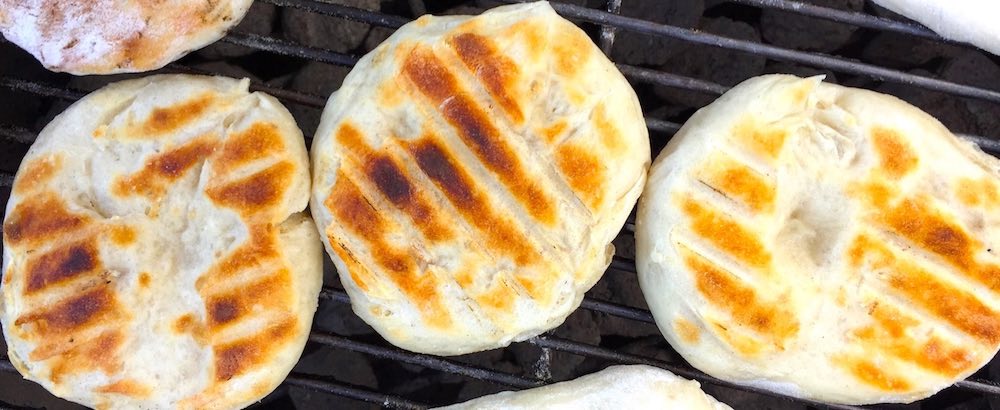
I only experimented with 3 pieces of dough. I just let them sit in boiling hot water for about one minute and then placed them directly on the grill. At first they stuck quite a bit, but as soon as the dough cooked, they released fairly easily. They really did taste like a combination of a bagel and a grilled flatbread.
I love doing these little experiments on the grill! BTW- I freeze the flatbreads and then just heat them up in the toaster oven as needed. They are great reheated. They also make a tasty breakfast bread – regular or bagel version!
Dough Prep Method: Put 2 lbs of bread flour in the mixer bowl, make a little indentation in the flour and add 2.5 cups warm water. (You may need to adjust the amount of water.) Sprinkle the yeast over the water and stir just a little (trying not to mix in too much flour). After a few minutes, the yeast is softened. Add 1 tablespoon of salt and mix on low speed for 10 minutes. This method saves prep time and dirty dishes. Cover and let the dough rise until doubled in volume. Divide the dough into desired number of pieces, round, cover and rest for 15-30 minutes. The dough can be refrigerated before using. For more information, see my Grilled Flatbread page.
For more info on yeast doughs, please see the following articles: How Long Does it Take Dough to Rise and Pizza Dough FAQs.
My Pizza for Two dough will work great for grilled flatbreads too. There’s also a video so that you can see the above method for softening the active dry yeast.
No 2: Europe 2017! Bleached Parchment Paper vs. Natural
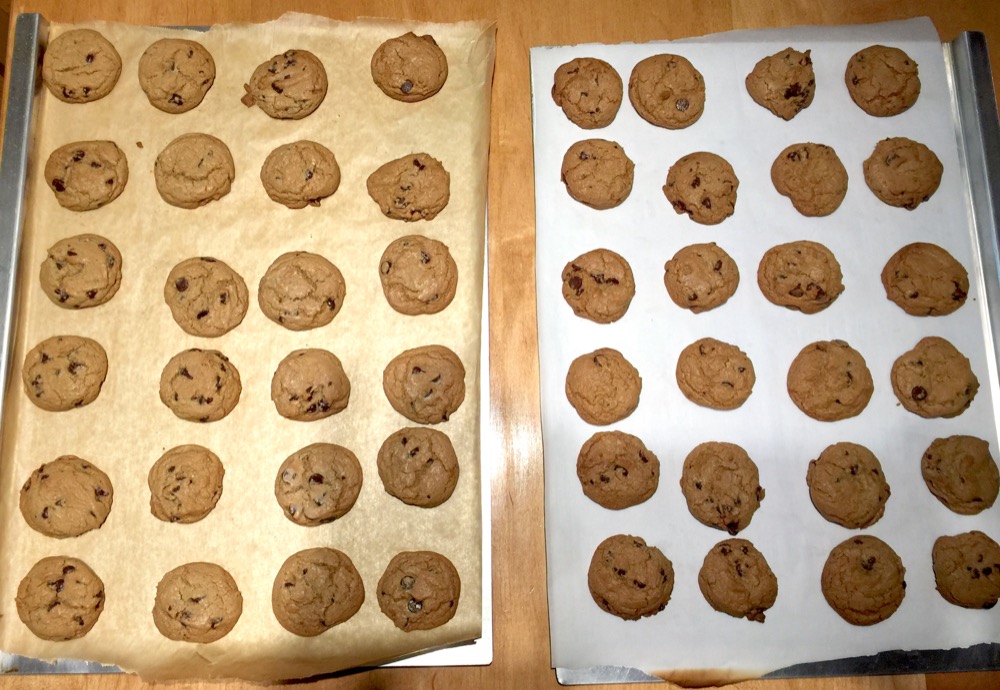
This is my second article comparing a kitchen product purchased while on vacation in Paris with a similar product found in American grocery stores. The funny thing is that this comparison actually involves two products that are made in France – bleached and natural parchment paper. I didn’t have experience with natural baking paper and was curious how it would compare side by side with the bleached white variety.
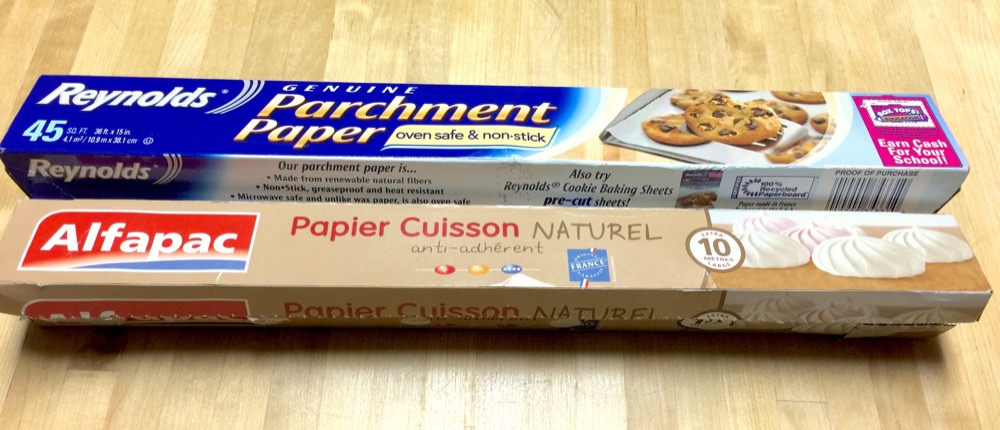
The Reynolds version (top in the above pic) is the type I see most often in local stores.
The paper is made in France, packaged in the U.S., very high quality and allows for the baking of several batches per sheet. The natural Alfapac baking paper that I purchased in Paris (bottom in above pic) is also a very nice quality, but feels thinner to the touch.
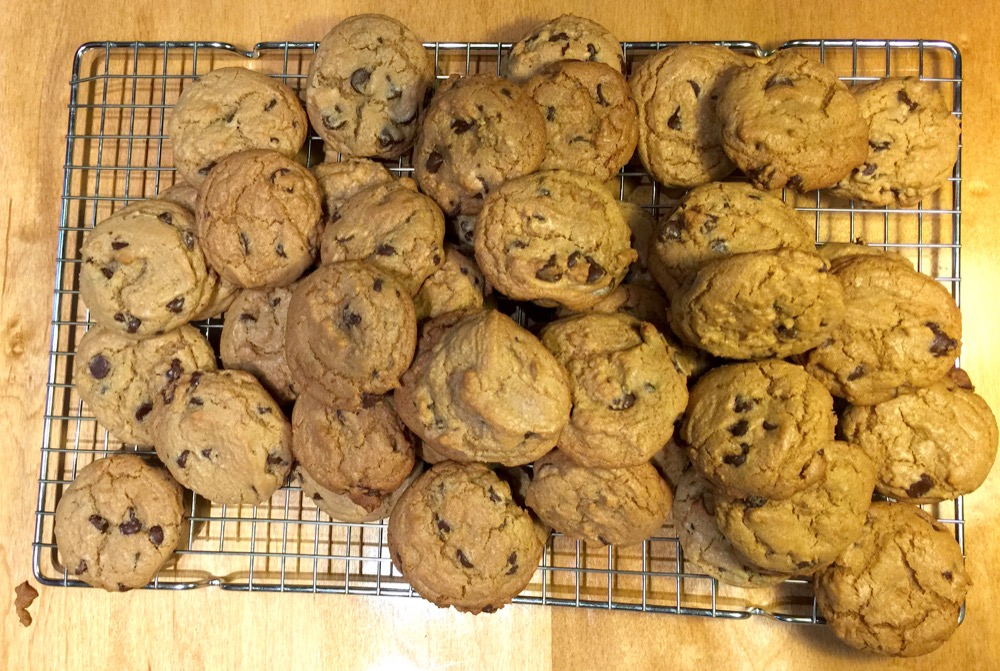
I made a batch of chocolate chip cookies and baked some on each kind of paper.
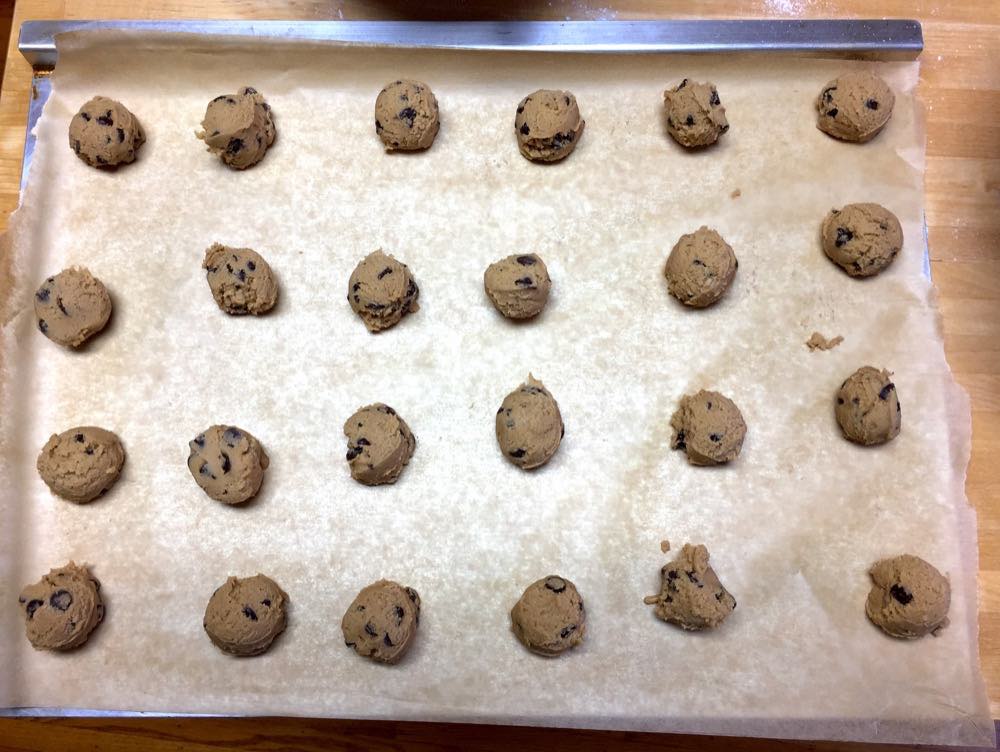 |
| Raw dough on natural parchment paper |
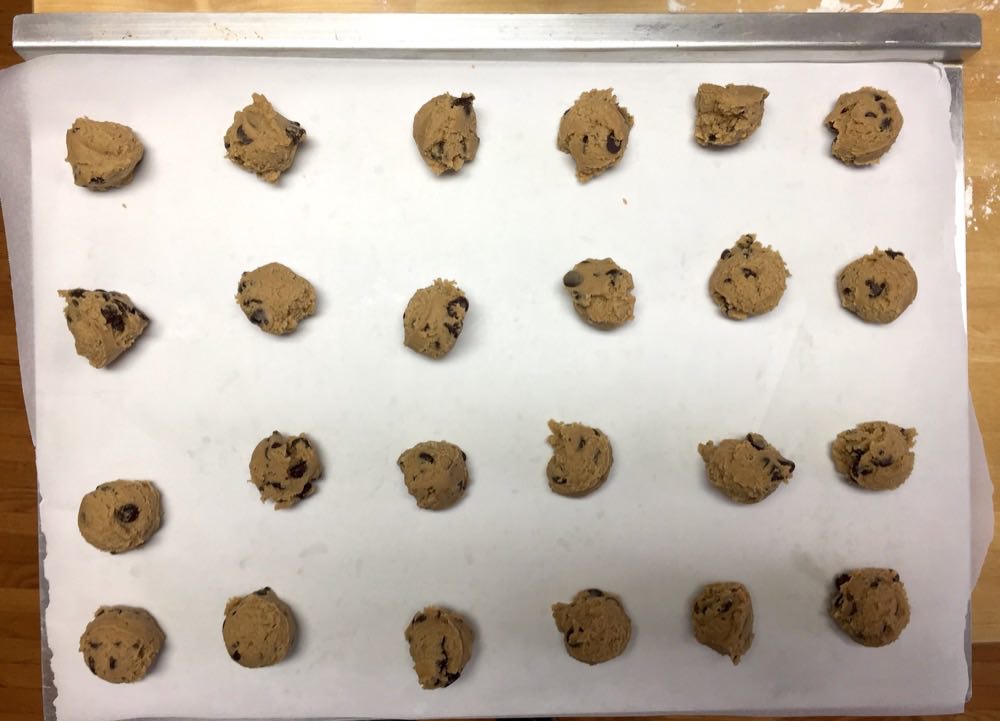 |
|
| Raw dough on bleached parchment paper |
Results:
- The natural paper was easier to work with, because it didn’t curl up as much as the Reynolds
- Reynolds paper could probably bake more batches per sheet as it was more durable.
- The natural paper tended to burn on the edges more easily.
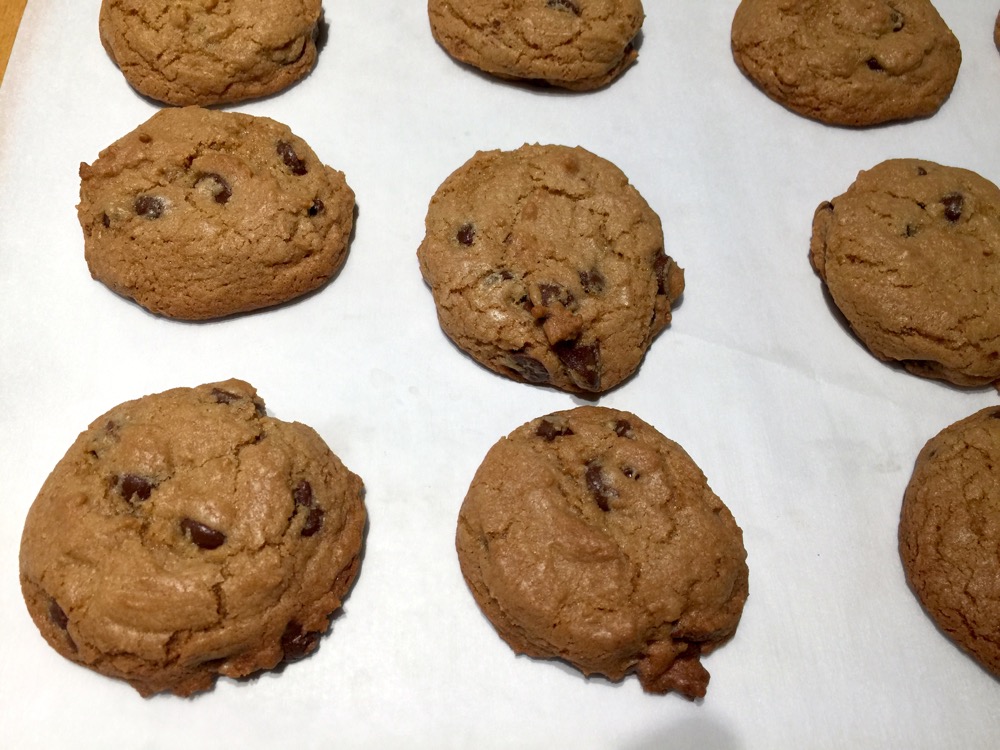
- The baked cookies looked quite similar, but I preferred the ones made on the natural parchment paper. They spread just the right amount and baked more evenly, although it’s a little difficult to tell from the photos below.
- I like the width of the natural paper, because it fit my pans without trimming.
- Both papers provided excellent non-stick surfaces.
- I love chocolate chip cookies.